 An old friend from uni has been studying photography, and offered to come by and do a cake smash shoot with my Little Princess. So I decided it would be fun to make a rainbow layer cake I had seen on the Whisk Kid blog.
It didn't smash very well. She gave the big cake a good hard whack, but it did nothing and she lost interest, so instead we gave her just a slice to play with. We had more success and got some beautiful photos, but this left me with a very big cake to use up somehow, so I took it to work and left it in the staff room with a note telling my collegues to have at it.

The rainbow cake had a fantastic reaction, and as a result I found myself making another one for a work collegues birthday, so I took photos as I went to create my very own tutorial.
The first step is to make a cake batter. Any white cake will do, I used Donna Hay's Melt N Mix buttercake. I find this recipe makes 6 cups of batter, making it perfect for a rainbow cake because you can easily divide it into three portions to colour. So first I did red, yellow and orange, and baked each one for 20 minutes in a 20cm tin. Then I repeated the process, this time with blue, green and purple.
 Once baked and cooled I like to wrap each cake individually in glad wrap and let it rest, overnight if possible, then I level them, cut off the crusts using a template to make sure all cakes are the same, and get to work layering them.
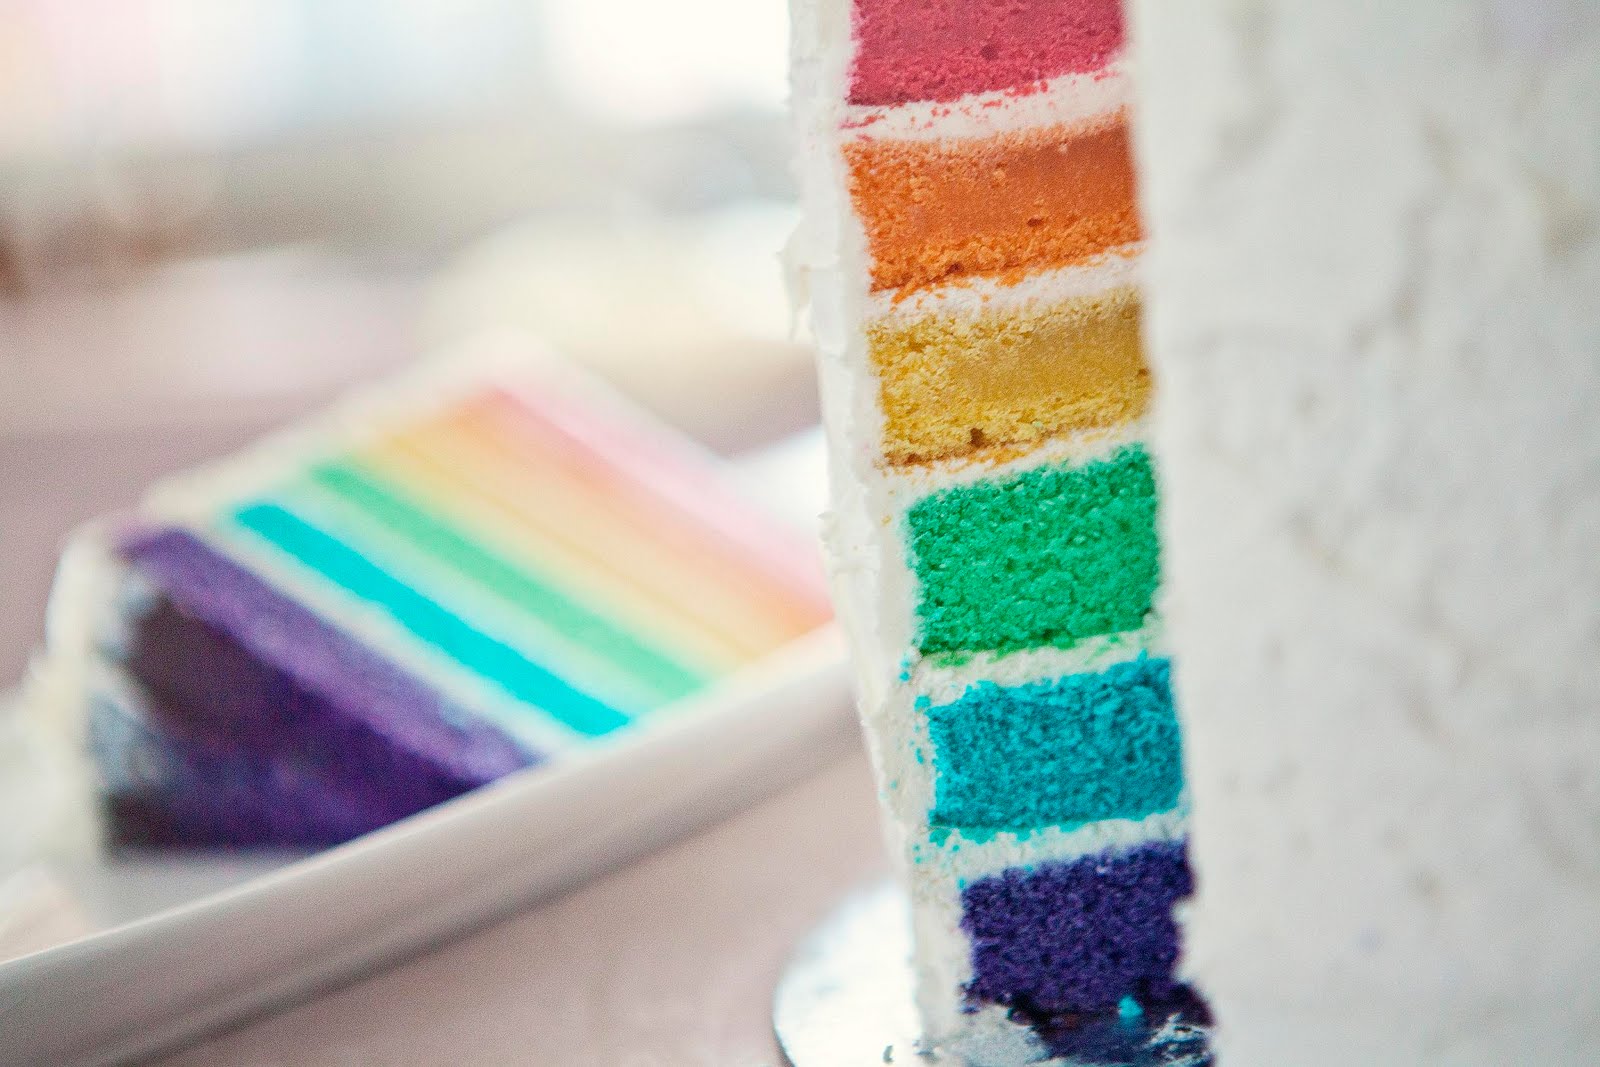
I made 1 1/2 times more normal buttercream recipe and coloured it white, and put 1/2 a cup between each layer. Measuring it makes sure the layers are even. I like to use purple at the bottom, but that's purely personal preference.
 Finally do a quick crumb coat. This is just a really thin layer of buttercream spread over the sides of the cake. As you can see in the picture you will see the layers through the buttercream, and there will be crumbs visible in the buttercream. That's ok. Next step is to let it set in the fridge for at least a half hour so the buttercream crusts up, and then spread it nice and thick with a good layer of buttercream. The first crumb coat will hold all those nasty loose crumbs in place.
 Personally I like to then leave the cake just white. It's like a disguise for the beautiful chaos that goes on underneath. But this cake wasn't for me, and I was asked to decorate it with something girly, so I played with my new butterfly and gerbera cutters. I wanted to get some ladybugs on there too, but got dreadfully sick so I couldn't make them.
So there you have it, instructions on how to make your very own rainbow layer cake.
Hello! - this looks fabulous. I'm just wondering what you used to dye the butter cream white? I've tried the Wilton White White but I can never get it really white.
ReplyDeleteThanks so much,
Row x